Tag Archives: Tutorial

Gertie’s gussets

11 May

Lol. I am still making my Mad Men dress. Oops.

I’m using Gertie’s wiggle dress pattern with a Spotlight satin poly I’ve had for ages  – and I’m calling it a wearable toile (and a bit of a mother pucker to be honest – it’s pucker city here and no setting/needle etc change is helping). Next up I’ll be making the ‘real thing’ in a royal blue wool crepe. Ahhhh how I can’t wait to be back with a natural fibre.

This pattern has been relatively simple to work with, however a new technique for me was underarm gussets. Tricky little buggers. Made trickier by cutting before reading and discovering later that those lines I cut down were actually sewing lines – duh. Ah well, make it work ey! If I hadn’t been overzealous with the scissors, things would have been much easier. But anyway, here’s a light tutorial for the gussets based on my experience.

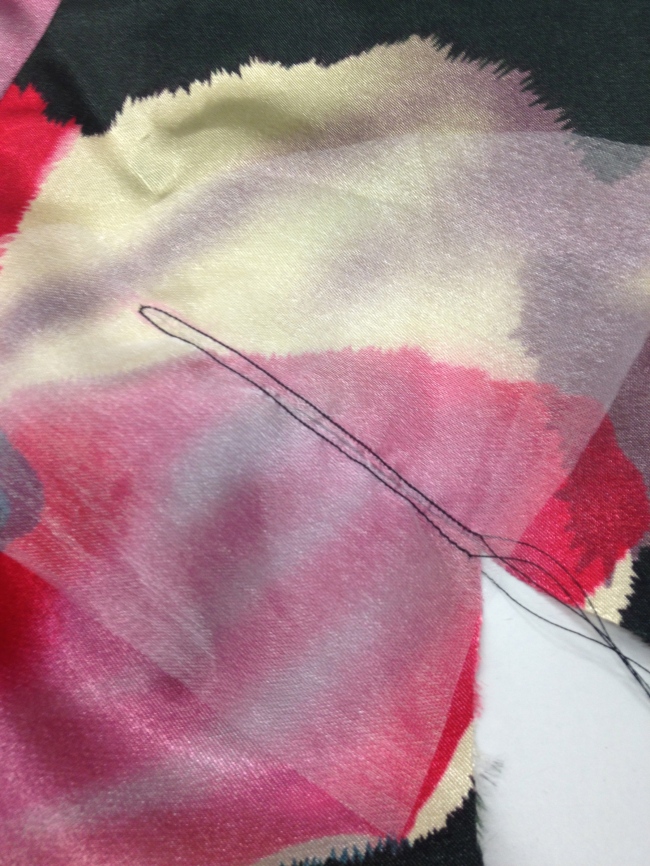
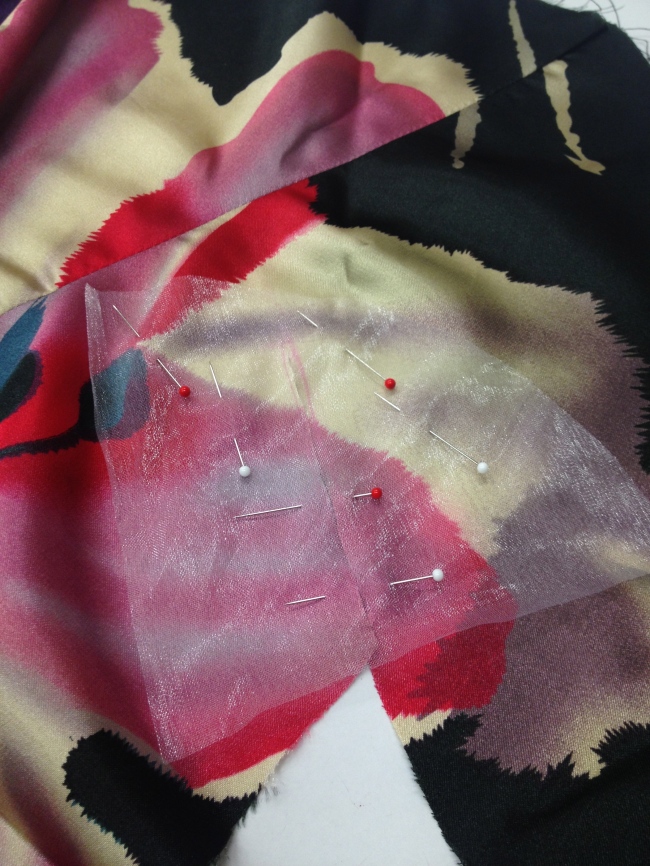
1. Attaching organza 

Organza pieces are attached to the right side of your fashion fabric. I used huge pieces that were trimmed later. If you look closely you can see that the outer fabric (under the organza) has already been cut – don’t do that! Refer aforementioned overzealous cutting. Mark your sewing and cutting lines too – you can just see mine in pink.

Image

2. Sew along sewing lines

Sew along the sewing lines – but still don’t cut! 

Image

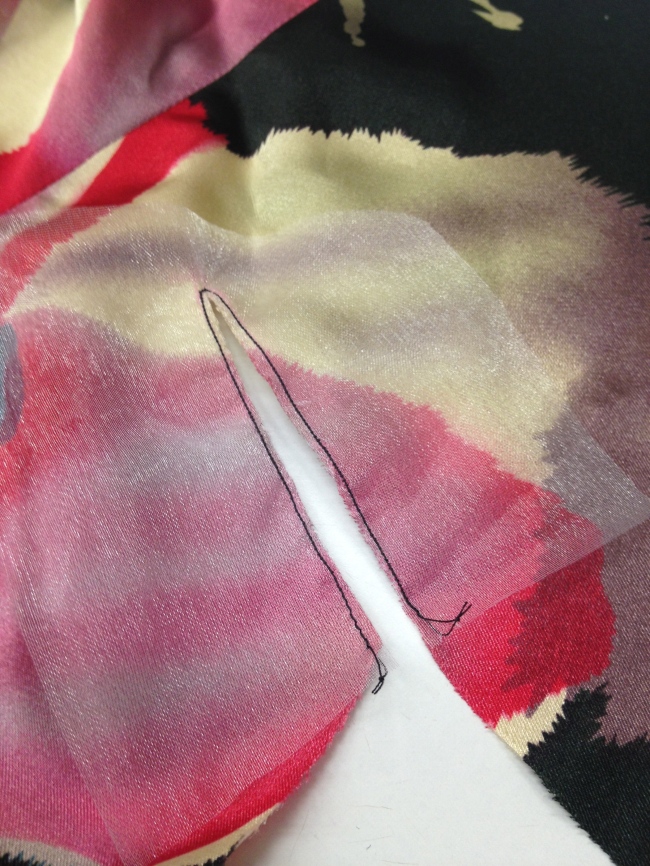
3. Now cut!

Get your scissors out folks! Now is the time to cut up the cutting line – that you of course had previously marked on the fabric. 

Image

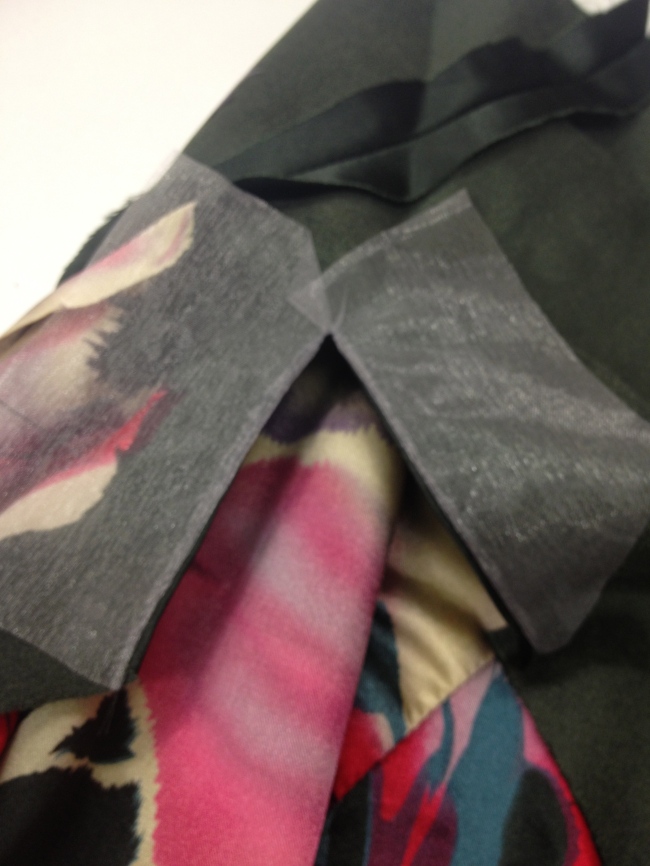
4. Turn and press

Turn your organza through to the other side (i.e. the wrong side of your fashion fabric) and press press press. 

Image

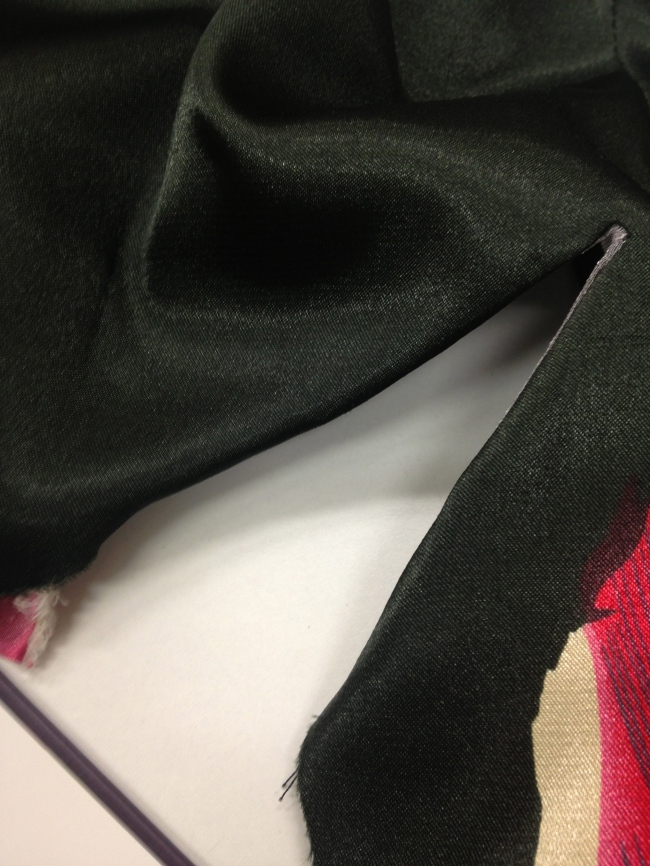
This is what it looks like from the right side.

Image

5. Attach the gusset piece

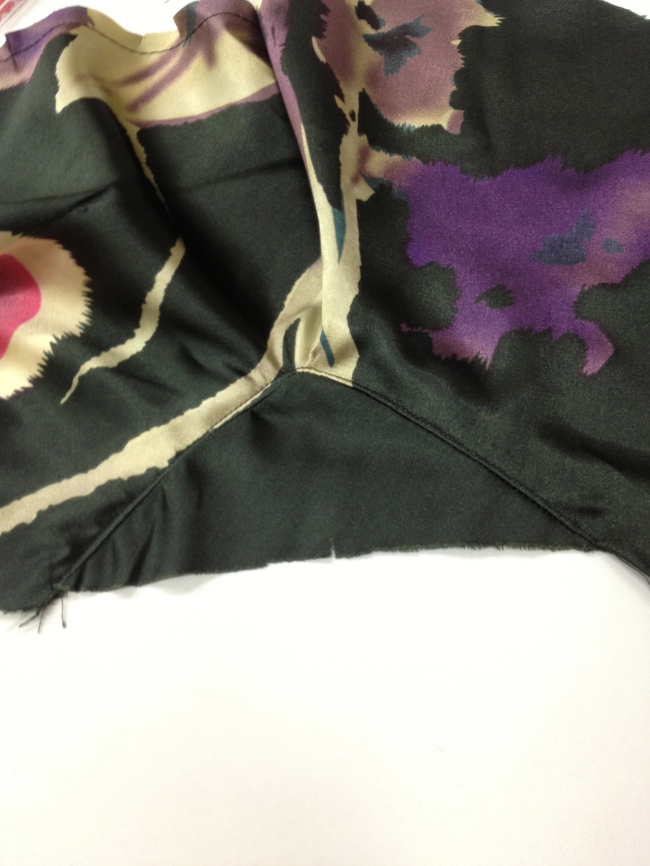
Because of my early cutting incident. This was trickier. However, I pushed and prodded the fabric and got the piece attached ok. Just ok, not brilliantly. As you’ll see below. It’s a toile – whatever (crosses arms and sticks out bottom lip). Then edge stitch to reinforce. You’ll see that my corners/points aren’t that pointy, another ramification of me getting scissor happy. 
 Image

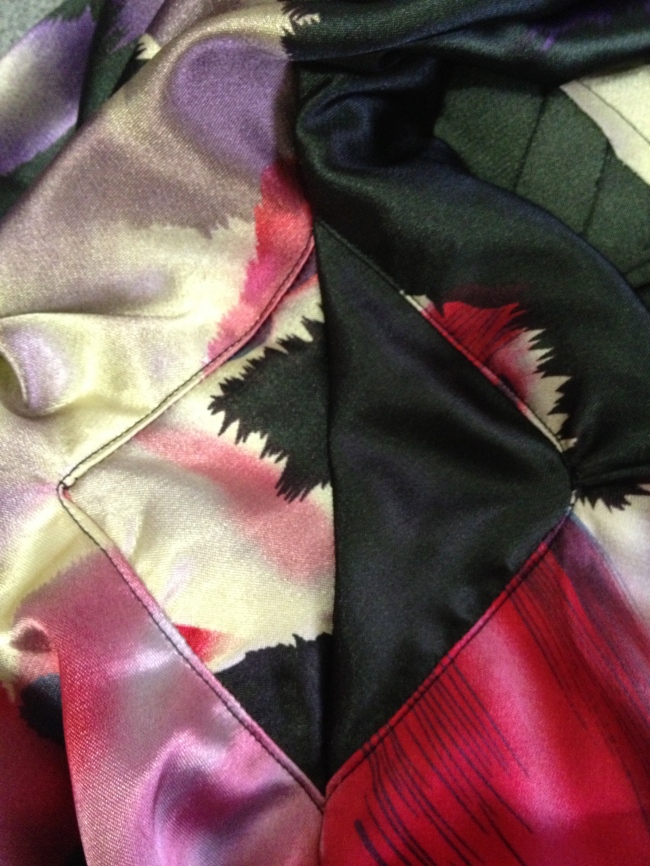
6. Stitch her up

When you attach your back dress pieces to the front you’ll be joining up your gussets – paying careful attention to matching up the seams. Then, they’ll look like this. Hopefully even better!

Image

There you have it, Gertie’s gussets! You’ll be able to see these in action once the dress is finished. Don’t hold your breath 😉

Z xx

PS – Gertie has her very own tutorial too. I’d recommend reading it before you make the gussets. Not after. Like me. That was silly. Let’s be honest, I still haven’t read it…

 

Tutorial: Knit cuffs – Undercover Hood

18 Aug

I am so close to finishing my Papercut Patterns Undercover Hood. All that’s left to do is bind the neck and topstitch – yay! If you follow me on Facebook, Twitter or Instagram you would have seen a sneaky peak of this garment last weekend.

The one thing that confuzzled me during construction were the cuffs/bands. I was having some serious ‘I don’t get it’ moments when putting these together, so I thought I’d share the details in case anyone else suffers the same moments. The stripes were messing with my head… This method will actually be relevant for any knit cuffs too.

Please note, it’s unlikely you’ll find this technique used on RTW garments, it’s bit more spesh 🙂


Step 1

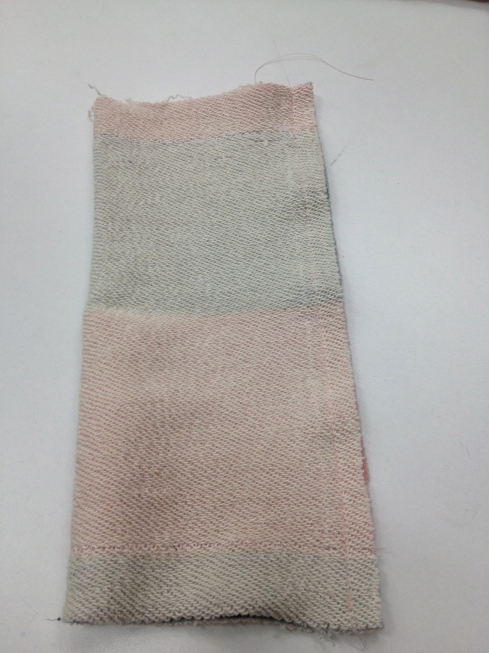
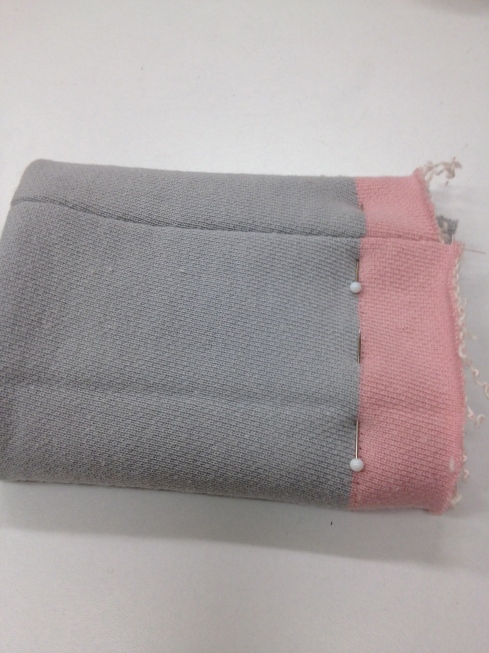
Lay your cuff on a flat surface right side up, with the top of the cuff at the top and the bottom at the bottom (i.e. closest to you). Fold in half on the vertical. You’ll then have a fold on the LHS, wrong side up, and the two edges on the RHS. Pin and sew the seam down the RHS using the allowance the pattern asks for. Making sure you match up your stripes too if you dare go to stripetown.

Knit cuff tutorial


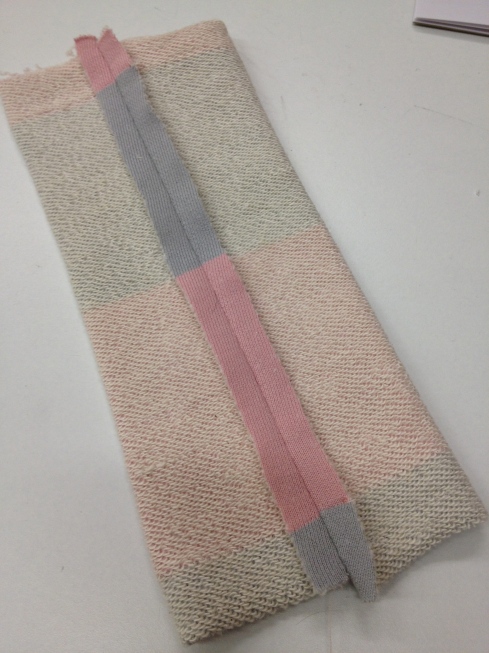
Step 2

Press the seam allowance open.

How to make cuffs - press seam allowance Step 3

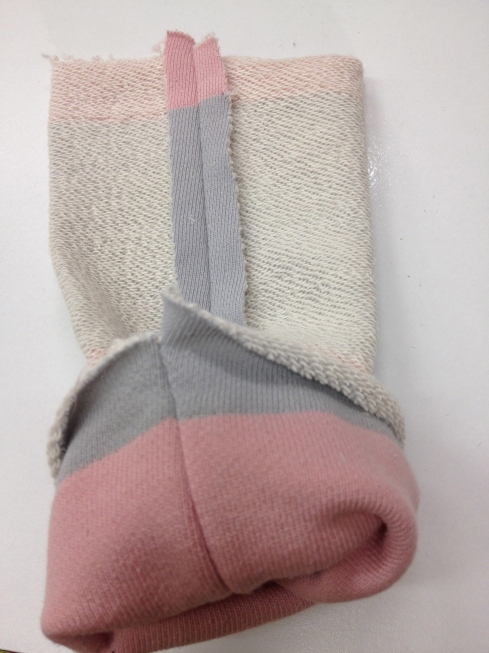
Turn through halfway – with the wrong sides inside. In my case I had to make sure that the halfway point lined up with a stripe. Also, just watch the seam allowances and flatten them out again if they bunch up – avoiding bulk.

How to make cuffs - turning through


Step 4

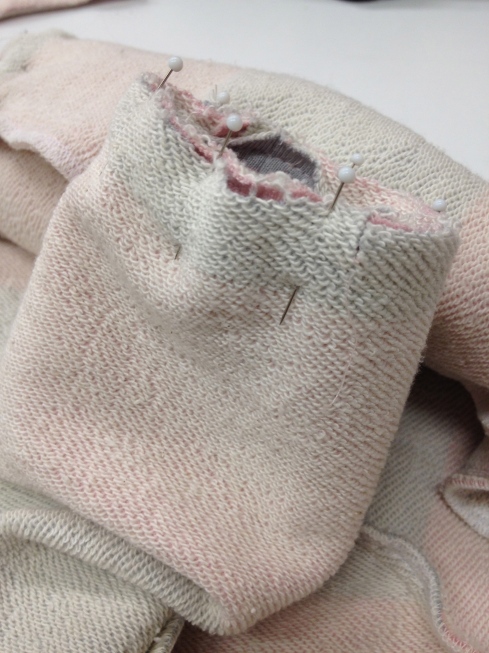
Pin the open seam and baste in place – again, watching stripes if necessary.

How to make cuffs - pin and baste

Step 5

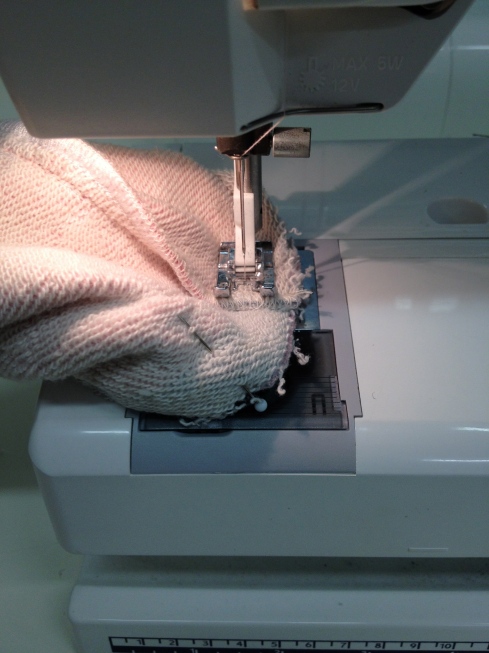
Take the cuff and insert it down the sleeve, lining up the raw edges of the cuff with the raw edge of the sleeve. Line everything up and sew the cuff to the sleeve. I basted first to make sure my stripes played nice. Don’t forget to line up your seams and notches. 🙂

How to make cuffs - applying

And when sewing, make sure you’re only sewing one side and not catching the other also. It’s a bit fiddly, but just take it slow.

How to make cuffs - sewing to the sleeveStep 6

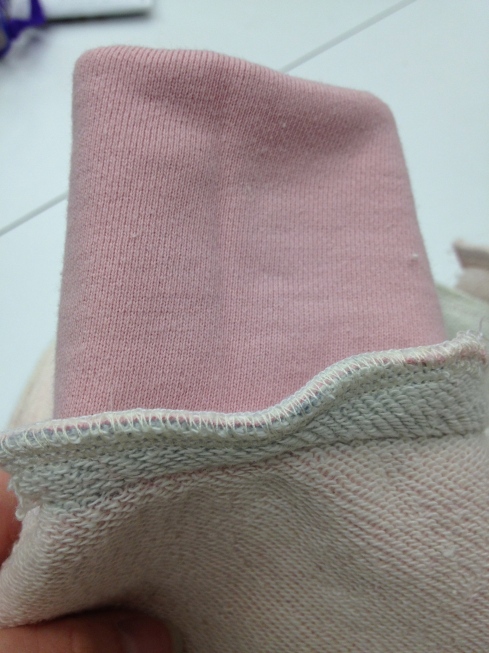
Overlock (serge) the raw edge. I don’t like the idea of having to unpick overlocking (as detailed in, ‘Renfrew you, Renfrew me‘), so I turn through and check everything is just so (just ‘sew’ lol) before overlocking.

How to make cuffs - sergingStep 7

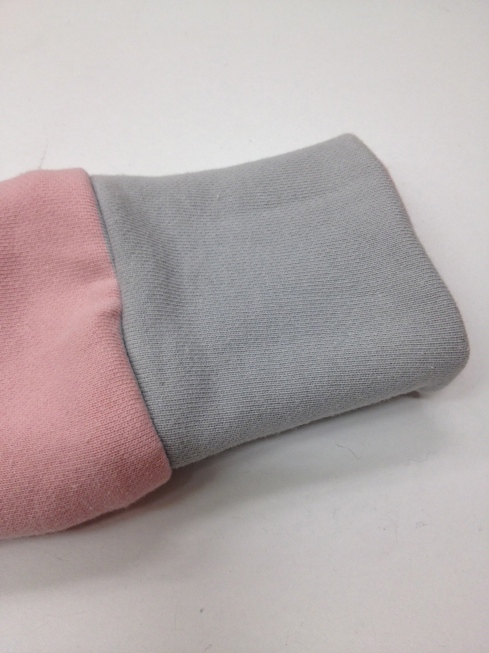
Turn through and voila! A very nice looking cuff. A press probably wouldn’t hurt here too.

How to make cuffs - finishedAnd that’s it! Is this how you make knit cuffs? It’s probably a bit old hat, but I wanted to get it down in case I suffer from another case of sewers confusion! Hopefully it’s at least helpful for some of you!